| This article is part of a collection for the walkthrough for Part Two. The next article is Chapter 2. |
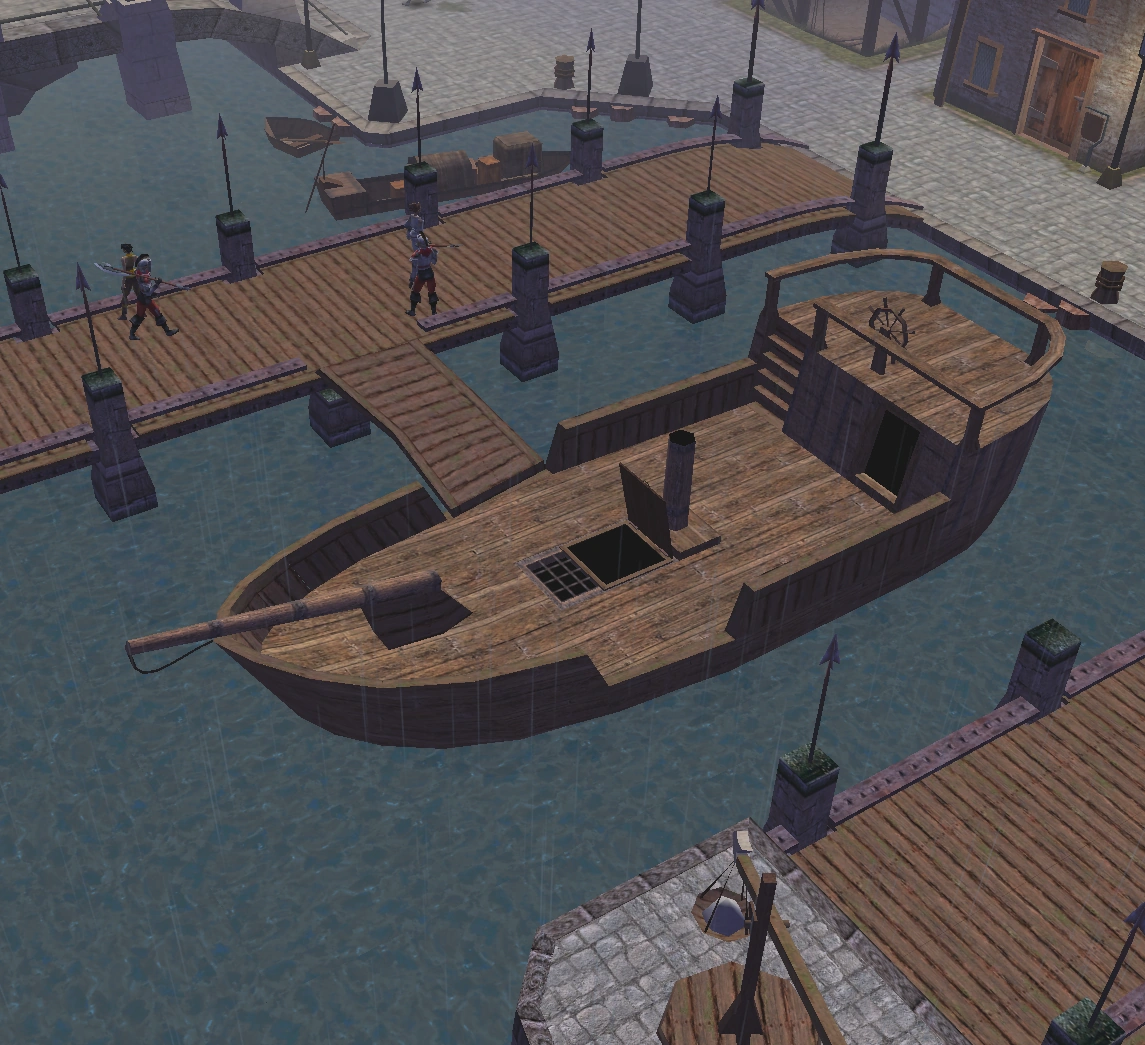
Westwood's harbor
After falling ill, the Princess wakes up on Warek's boat, which has docked in Westwood. She is told by Warek that her companions have all gone missing after going ashore and that Westwood itself is now controlled by the Dhorn. Soon enough, the Princess will discover that her companions have been imprisoned following a bar fight and that Dhorn are not alone in their interest of the town.
This part of the story deals with the Princess's exploration of Westwood, her attempt to find and rescue her companions, and her journey to the Abandoned Mine in the Black Mountains.
During her exploration of Westwood, the Princess learns of the harsh penalties imposed by the Dhorn on those daring to criticize them, albeit mixed with an attempt to keep some appearance of judicial process. She also learns that Dhorn have decided to settle Westwood with Dhorn colonists so they will take over it's commercial life.
Notes
- During this part of the story the Princess meets Bran and Norah and a dwarf Gemli, and can add them to the party.
- The Princess can leave Westwood and enter the Abandoned Mine without her companions, but it is not advised and will cause problems later on.
Walkthrough[]
|

Westwood[]
After the journey on Warek's boat and being bed-ridden for a few days, Warek has informed you that your friends have gone missing. You must leave the boat and make your way around Westwood alone. The Dhorn have a guard on duty by the boat, presumably to prevent smuggling and townspeople leaving. You can sneak past or persuade the guard to let you by.
While exploring the town you can speak to a few townspeople about your friends and the Dhorn occupancy of Westwood. You can also involve yourself in the Dhorn Justice quest, give money to beggars, and helping a prostitute escape the life. This is the last time you'll be able to stock up on supplies for a while, so stop by the shops while you can.
When you're ready, head into the The Three-headed Orc Tavern.
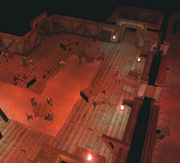
The Three-headed Orc Tavern[]
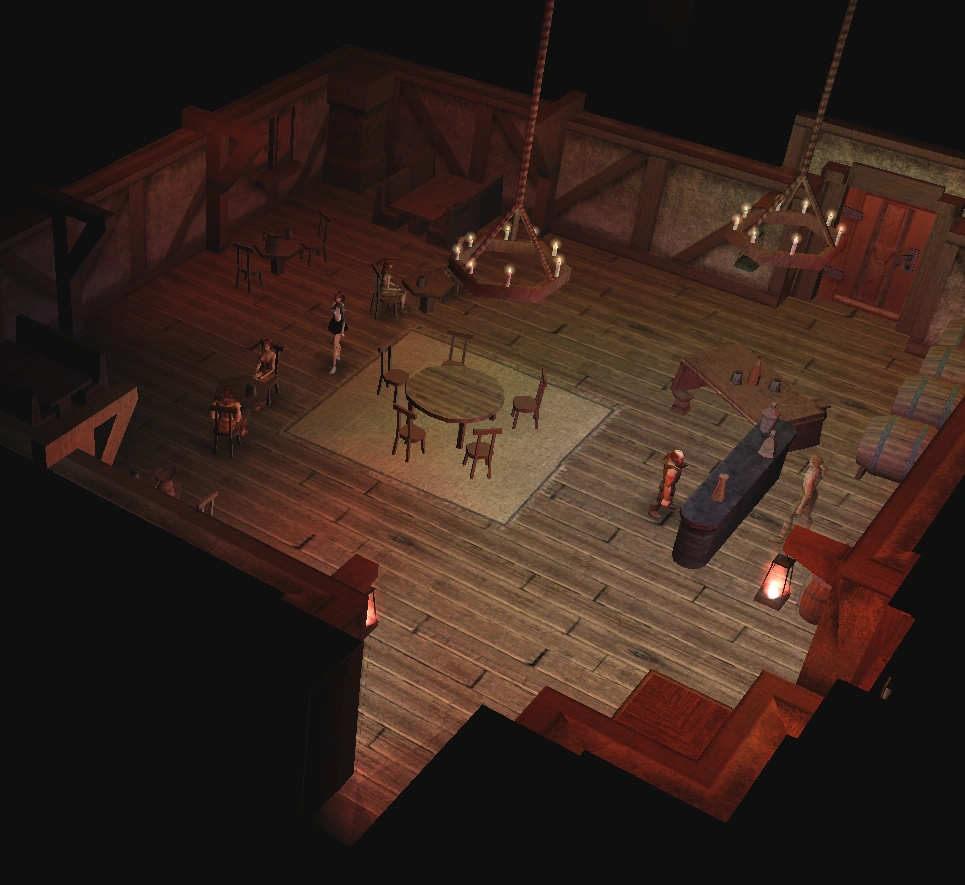
The Three-headed Orc Tavern
There are several patrons of interest in the Three-headed Orc: Bran, Norah, and Gemli, all possible henchmen, Vrigor, the Orc near the door, and the bartender. Keep an eye on Vrigor as you speak with the bartender about your friends. He'll leave and will be waiting outside with a proposition. The conversation with Bran and Norah is interesting, but won't advance the story. Some fun can be had with Gemli if you accept his challenge of a drinking contest. Background information on the Dhorn invasion can be obtained from the woman in the storeroom and a few XP can be got for picking the back door lock. The bartender keeps a locked chest in his bedroom, stealing from it will cause an alignment shift towards chaotic.
Gemli[]
It's possible to enter into a drinking contest with Gemli, which you will quickly lose without a high enough CON (16 or better). If you win, Gemli will fall asleep, otherwise you'll wake up the next morning, in Gemli's bed, followed by some amusing dialog.
Bran's Romance[]
Bran is a possible party member and romance. If you are interested in pursuing his romance, you'll need to start preparing now.
The first requirement is that you not be in a relationship (with Pia), which can be forcefully broken using the "dm_setvarint Relationship 0" debug mode command. This can be done when you reunite with Pia and the rest of your party in Westwood Castle' jail. Enter the command, then click on Pia. The second requirement is that you be respectful, honorable, and help those in need, such as the group being held by the Orcs in the Inn outside of Westwood. The third requirement is that you avoid Vico's advances from the Westwood Farmland, through the Abandoned Mine, and into the City of Dwarves: Inn. Once you've made it to the Inn, and if all is well, Vico should be upset with you and Bran will stand by your side. The relationship won't start immediately and it'll take a while to heat up, thanks in part to an unusually long period, but if Bran and Norah stay with you past the Inn, you're on the right course.
Vrigor[]
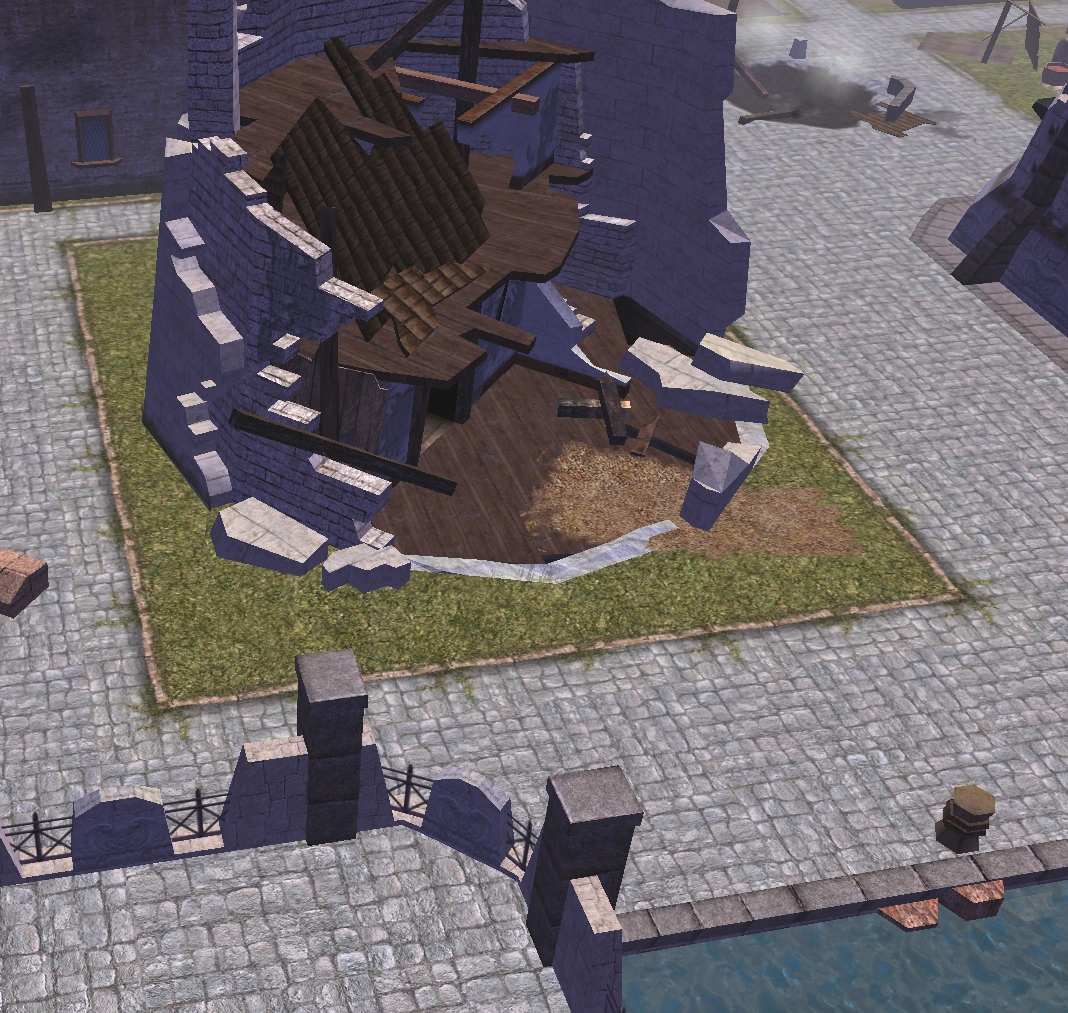
The ruined tower
After overhearing the conversation with the bartender in the Three-headed Orc Tavern, Vrigor will exit and wait outside to speak with you. Upon exiting exiting the Three-headed Orc or Gemli's house following the drinking contest, he will approach. Vrigor asks that you meet him at midnight in the Ruined Tower, which is located near the docks. You can return to Warek's boat to wait for a few hours if necessary, then head to the Tower for the meeting.
Vrigor explains that he has a business proposition for Baron Westwood and suggests you work together to get into the Castle. One possible way in is to pose as the Dhorn Commander, who can be found playing dice in The Blue Swan, by stealing his armor. Since it's unlikely for anyone to believe you are the Commander, Vrigor suggests you return with the mail to the Ruined Tower so he can lead the way. This triggers the Dicing with Dhorn quest.
The Blue Swan[]

After you've spoken with Vrigor, head back into town and knock on the door of the Blue Swan. Someone will answer and ask what you want, then tell them you want to play dice. Once inside, the guard will give you some clothes and let you into the main area.
In order to acquire the Dhorn Commander's Mail for the Dicing with Dhorn quest, you'll need to beat him in a game of 66. The Commander likes to win and he won't play you unless you've lost to someone else first. Find some patrons and ask them to play (don't buy any chips before this game, your goal is to lose and you'll want them to maximize your chances in the game with the Commander). You'll then be brought over to a side room near the Dhorn Banker and the game will begin. Losing is easy. Just keep making bad calls on the other players low rolls, claim high doubles when you roll, and let the other players enjoy the strip tease as you sell your clothes, piece by piece (you can hasten the process by dropping all the chips you receive, which also makes winning the later game with the Commander significantly easier). Once you've lost, buy some more clothes (and the twenty chip stack) from the Banker, then speak with the Commander. He and a patron will join you at the table. Beating the Commander is another matter and it's sometimes made more difficult because the patron isn't particularly good at the game. Worry less about the patron and focus more on the Commander. You don't have to hit high doubles every time to win, just push him up far enough that he has no choice but to go above you and get called by the patron, or wait for a good roll and let him challenge you and lose. Avoid challenging the patron if he's in trouble. With a little time and luck, you should be able to beat the Commander. Once he's defeated, pickpocket his Mail from the Banker.
A quick way to understand the odds in 66 is that there are 36 possible rolls, but aside from rolling doubles, each roll will have the same result as one other possible roll (depending on which die rolled higher). Thus the 30 rolls that are not doubles produce only 15 possible results, added to 6 possible doubles for 21 results, with the worse 15 having twice the chances compared to any double (2/36, rather than 1/36). To enumerate, the possible rolls from worse to best are: 21, 31, 32, 41, 42, 43, 51, 52, 53, 54, 61, 62, 63, 64, 65, 11, 22, 33, 44, 55, 66. This means that high rolls are deceptively likely. There is a 50% chance of beating a roll of 53, and because of the higher cost of calling, it is relatively easy to bluff up to 61 because the gains for calling a bluff on the first turn (with a pot of only 10-20 chips) are too limited compared to the risk, so the Commander will rarely do so. Thus a strong strategy is to always open by claiming a roll of "sixty-one" or higher (particularly if you have actually rolled such). Bluffing on later rounds, with a larger pot, becomes more dangerous (particularly as your goal is to ensure the Commander loses his armor to the Banker, rather than maximizing your own gains).
A refinement is to be suspicious when the claim is of the minimum improvement, even if the claim is less than 54. Especially when there are two such in a row. The odds of it not being a bluff are minuscule.
A simple method to defeating the Commander is to follow these three rules. When asked what to do about the Patron's roll, (1) if this is the first round after the pot is taken AND the claimed number is less than 51 (and not doubles), accept his number, roll the dice and take a chance (24/36, or 2/3) you can beat him. Otherwise call. (2) When it is your turn to open (or when you are forced to bluff), go above "fifty-one" so that you won't ever get cornered into bluffing with a large pot. (3) Don't bluff in any other circumstance if you can avoid it (bluffing gets more difficult with a larger pot). You'll lose a fair number of hands (shirt and skirt almost immediately) but the commander should lose more and faster because you're trying never to lie to him with a pot larger than 30 on the line so he never has a good chance to recoup his losses. It costs him 10 chips a round or 30 when he calls. Should you not be able to win with this method, an alternative is to go back to a game with regular patrons. Open your inventory once the game starts, and every time you sell some clothes, right click on your new chips and select "drop." This will place the chips in front of the table. Retrieve them after you lose the match, and try the commander again while starting with a couple hundred chips (there is no reason not to do this even in the first game, as your goal is to lose quickly anyway).
| Tip: If you're having problems with the dice game, you could try a more direct approach and kill the Commander. Attacking him in full view of the tavern would set most of them off and then you'd really have your hands full, but a failed pickpocket would only cause the Commander and the Banker to come after you. You can lead them to a bedroom in the back and finish them off there. This fight can be made easier by attempting to pick the Commander's sword before the failed pickpocket, which requires a little luck. Of course if you're too skilled a pickpocket, you may never fail and you'll have to try something else. A slightly safer (but class specific) option is to cast Dominate Person on the Commander and lead him, alone, to one of the rooms in the back and fight him once the dominate effect wears off. This requires you to be a spell casting class however (or have a scroll of Dominate Person and sufficient ranks in the Use Magic Device skill). If you picked up the Ambassador's Gift armor in Part 1, you can use one of it's Dominate Person charges, however you must be careful as changing into this dress may antagonize the other Dhorn patrons as well. Another option is explosives. A well placed Implosion Bottle (assuming you have some leftover from Part One) will take out the Commander and anyone nearby, so you should run for the back bedrooms once it's set up. Any Dhorn who didn't die should be near death, but hostile. Enable stealth before heading back into the main area. Either way, take the Commander's Mail when he's dead. If it's all gone wrong, you could always spawn a copy of the Mail with the "dm_spawnitem dhornmail004" debug mode command. |
Now return to the Ruined Tower and speak with Vrigor.
Return to the Ruined Tower[]
Vrigor will attack once he hears you have the Commander's Mail, so be ready for a fight. Pickpocketing his weapon before starting the conversation makes the fight easier. Once Vrigor is dead, move on to the Castle.
Westwood Castle[]

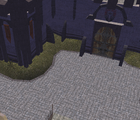
The castle
You should approach Westwood Castle when it's dark and make sure no patrolling Dhorn soldiers are nearby, then put on the Commander's Mail and knock on the door. Luckily there's a pair of daft guards on watch inside and can be bluffed. The castle it is well lit and hostile territory, so enable stealth mode before entering.
It is possible to explore the upper levels, but aside from some background information on the events surrounding the Greytower, there isn't a whole lot of interest. You'll find the bodies of Lord and Lady Westwood there, who have some interesting items. The east side of the castle has just a banqueting hall and kitchens/storerooms with nothing of interest in them.
You should take the west-most passage through the guards quarters, then down the stairs. The nearby bedroom has a few items for the taking. Once downstairs, sneak past the guards to the storeroom and pick up your party's equipment, then head down to the jail.
Westwood Castle, Jail[]

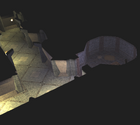
The jail
There are 5 cells in the jail, with difficult to open doors. The first contains an Orc Berserker, so you should be prepared to fight if you open the door. After opening the remaining cells, speak with your party members, gear up, then make your way back upstairs.
Westwood Castle, Under Siege[]
Upon returning to the main level, Orcs can be seen fighting Dhorn soldiers. For the most part, the Orcs are winning these fights and will be the major resistance on the way out. Fight your way back to the main gate, heal up, then exit.
Westwood, Under Siege[]
After exiting the castle, you'll be surrounded by a group of Orcs lead by Vrigor and his father Barbag Jawbreaker. Following some brief dialog, they'll attack. Once the group has been dealt with, fight your way back to the docks, where a fierce battle is raging between the Orcs and Bran, Norah, & Gemli. When the remaining Orcs have been defeated, speak with the trio.
| Note: Prior to version 1.20, you had to choose between Bran & Norah or Gemli, but it's possible to have all three as party members in version 1.20+ although Gemli will take some convincing. |
A quick search of Warek's boat will turn up nothing. A brief conversation on his whereabouts will follow, but there's nothing concrete.
There are a number of potions to be found on the bodies around town, which will come in handy later. If you haven't discovered it already, the tunnels below Westwood contained a small number of Clan Jawbreaker, preparing for the attack. There is a chest inside with a few items. Entrance to the tunnels can be found in an nearby empty house. The tunnel exit is a breach in the walls.
Take what you need, then exit to the Westwood Farmland.
Optional Quests[]
Westwood Farmland[]
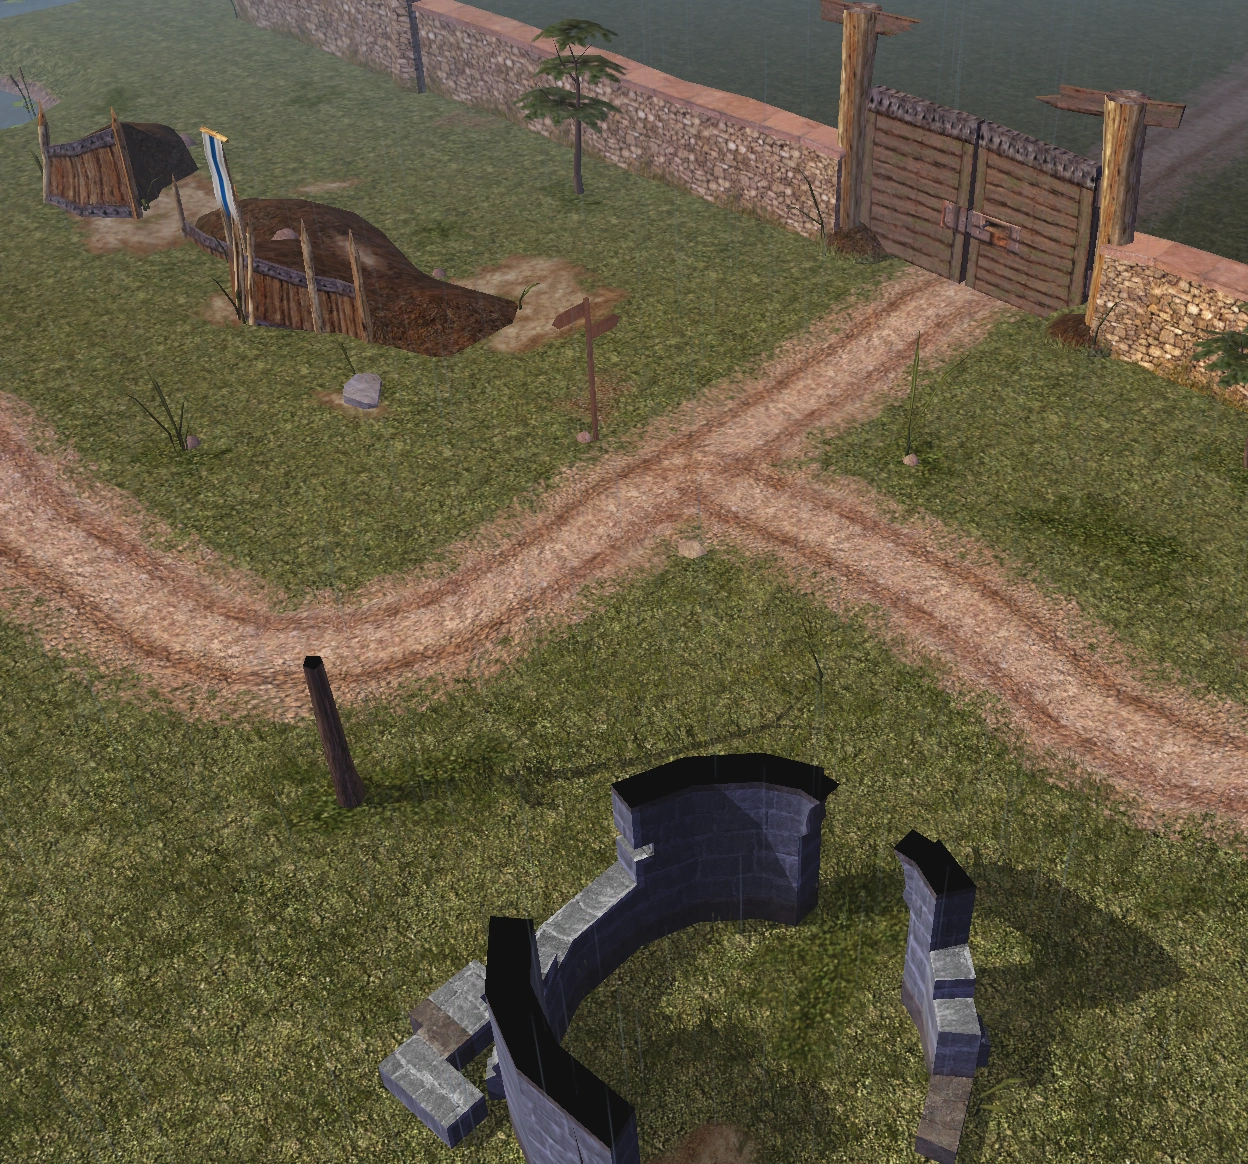
The city gates
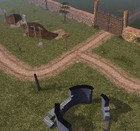
After making it out of Westwood, you'll find yourself on the road of the Westwood Farmland. Just across the road to the Northeast is a small cemetery and the Westwood Mausoleum. To the east is a broken down wagon with some explosives, as well as an entrance to the mines that is not yet accessible, so no use exploring this way right now, you'll end up here later anyway. To the west is the bridge that leads to the Inn for the What's Wrong at the Inn? quest, and the forest, which you'll explore later in the game. The Black Mountains and mines are to the north. The main quest is through the mines, but don't forget to explore the surrounding areas to the West and North, for character interaction. In the barn, Vico will have some interesting lines concerning Pia's past. In a house nearby, you can picpocket a drawer for some lingerie you can use to test your companion's reactions.
Westwood Mausoleum[]
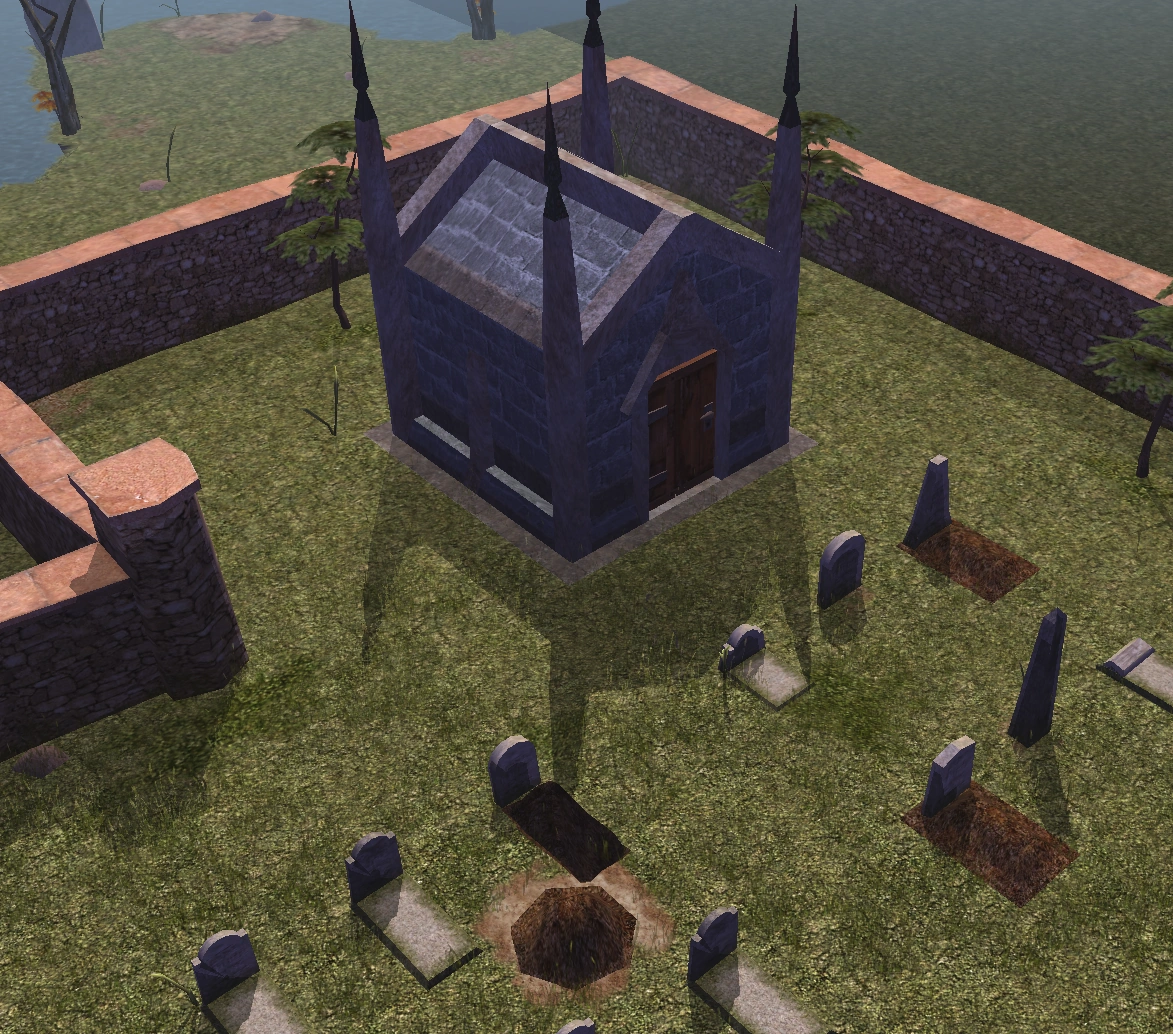
The mausoleum
The Westwood Mausoleum is heavily trapped and guarded by a number of skeletons. You are not required to explore the mausoleum, but if you're interested in some loot and amusing interaction, head inside.
Make your way downstairs to the main room with the glowing altar. If you kept Hyath's Black Pearl Ring from the Golden Chalice quest in Part One, it will begin to glow. Vico will have something to say as he's already noticed the ring earlier. Further into the mausoleum, is another altar that will trigger a vision of Arto Benthur when touched. After the vision plays out, the party will show interest and concern. Don't forget to take the short sword from the altar before leaving.
Black Mountains[]

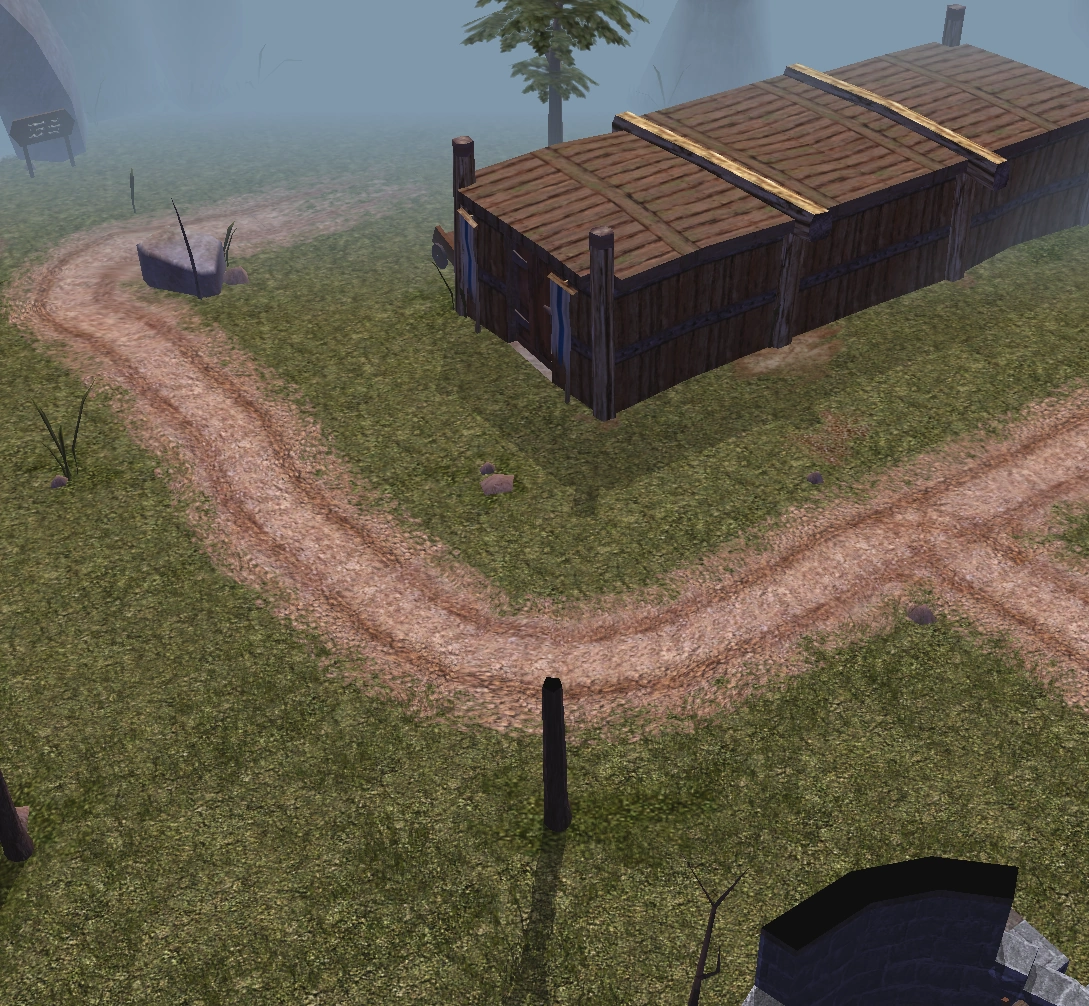
The barracks
The Black Mountains are located to the north of the Westwood Farmland. You can rest in the barracks and explore the well, but the main quest continues in Chapter 2, with the Abandoned Mine.
The Well[]
The second half of the (optional) Greytower quest can be solved in the well. Climb down and walk through the doors. A brief cut scene will play and a ghostly figure will remain. It's advisable to save your game before you enter the room. You can then speak with the ghost of Perrent and persuade him to put or throw away his rapier. If you fail, Perrent will become hostile and attack. Once you've succeeded and have the short sword from the Westwood Mausoleum, return to the Greytower and head upstairs for the conclusion of the quest.
If you're also working on the What's wrong at the inn? quest, finish both missions before returning, as this one also concludes in Westwood, with a brief discussion with the old man and his daughter.
Barracks[]
The abandoned barracks can be used for a quick rest before entering the mines and some character interaction. There is a locked room used to store explosives. Gemli explains that the key can be found with the Shot Firer, who has subsequently been killed and can be found in the Abandoned Mine.
| This article is part of a collection for the walkthrough for Part Two. The next article is Chapter 2. |